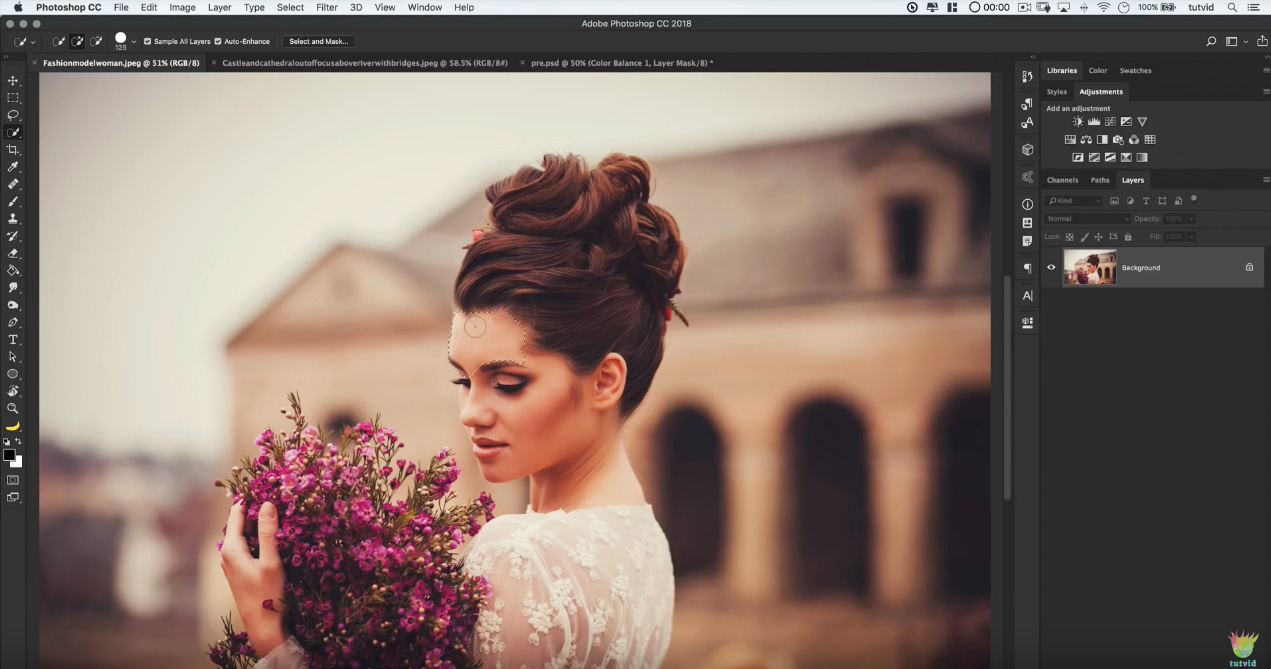
Vignetting an image is a way of highlighting a subject in the image by making the edges of the image darker or lighter. There are more than a few ways to add a vignette to an image in Adobe Photoshop, but by far the easiest way is to use the built-in Lens Correction tool. Step 1: Start by opening your image in Photoshop. An image with the subject in or close to the center works best, but isn’t necessary.

Image before vignette
Step 2: Choose
Filter > Distort > Lens Correction from the Photoshop menubar.
Step 3: Adjust the
Vignette settings in the Lens Correction dialog. As you can see in the screenshot below, I’ve chosen to darken the edges of the image by sliding the
Amount slider all the way to the left. I then used the
Midpoint slider to adjust how large the vignette appears. If you’re having a difficult time seeing the vignette, turn off the Show Grid checkbox at the bottom of the dialog box. Once you’re happy with your settings, hit OK.

Vignette adjustments
Step 4: As you can see in the image below, the image has a perfectly darkened border, smoothly fading from the edges inward.

Image after vignette
The subject of the photo should “pop,” making the image itself more interesting, and draw the eye in. Play around with the sliders in the Lens Correction filter to find the settings that work best for your particular image.

Image after light vignette
Moving the Amount slider to the right will lighten the edges, rather than darken, providing results similar to the image above.
Related posts:
- Easily add vignettes to your Photoshop images
- How to move sliders 1% at a time in Photoshop
- How to match colors in multiple photos in Photoshop
- Add sparks to your Photoshop image
- Adding realistic fog to your images using Photoshop