 Adobe InDesign
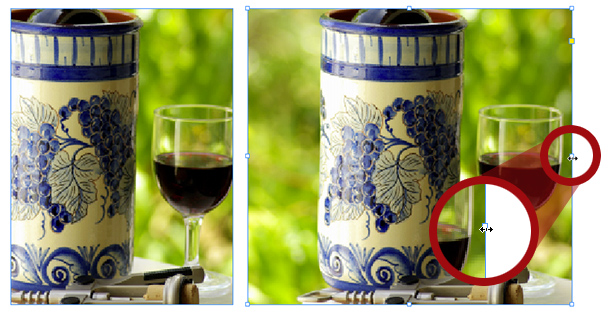
Add Bleed to Your Image Right Inside InDesign
I’m fairly O.C.D. about things when it comes to my InDesign layouts. For example, having bleeds is not enough, they must be EXACT amounts, no more and no less.
Here’s a great way to fix images that bleed inside InDesign… no switching to Photoshop or fiddly image resizing is necessary!
Read more “Add Bleed to Your Image Right Inside InDesign”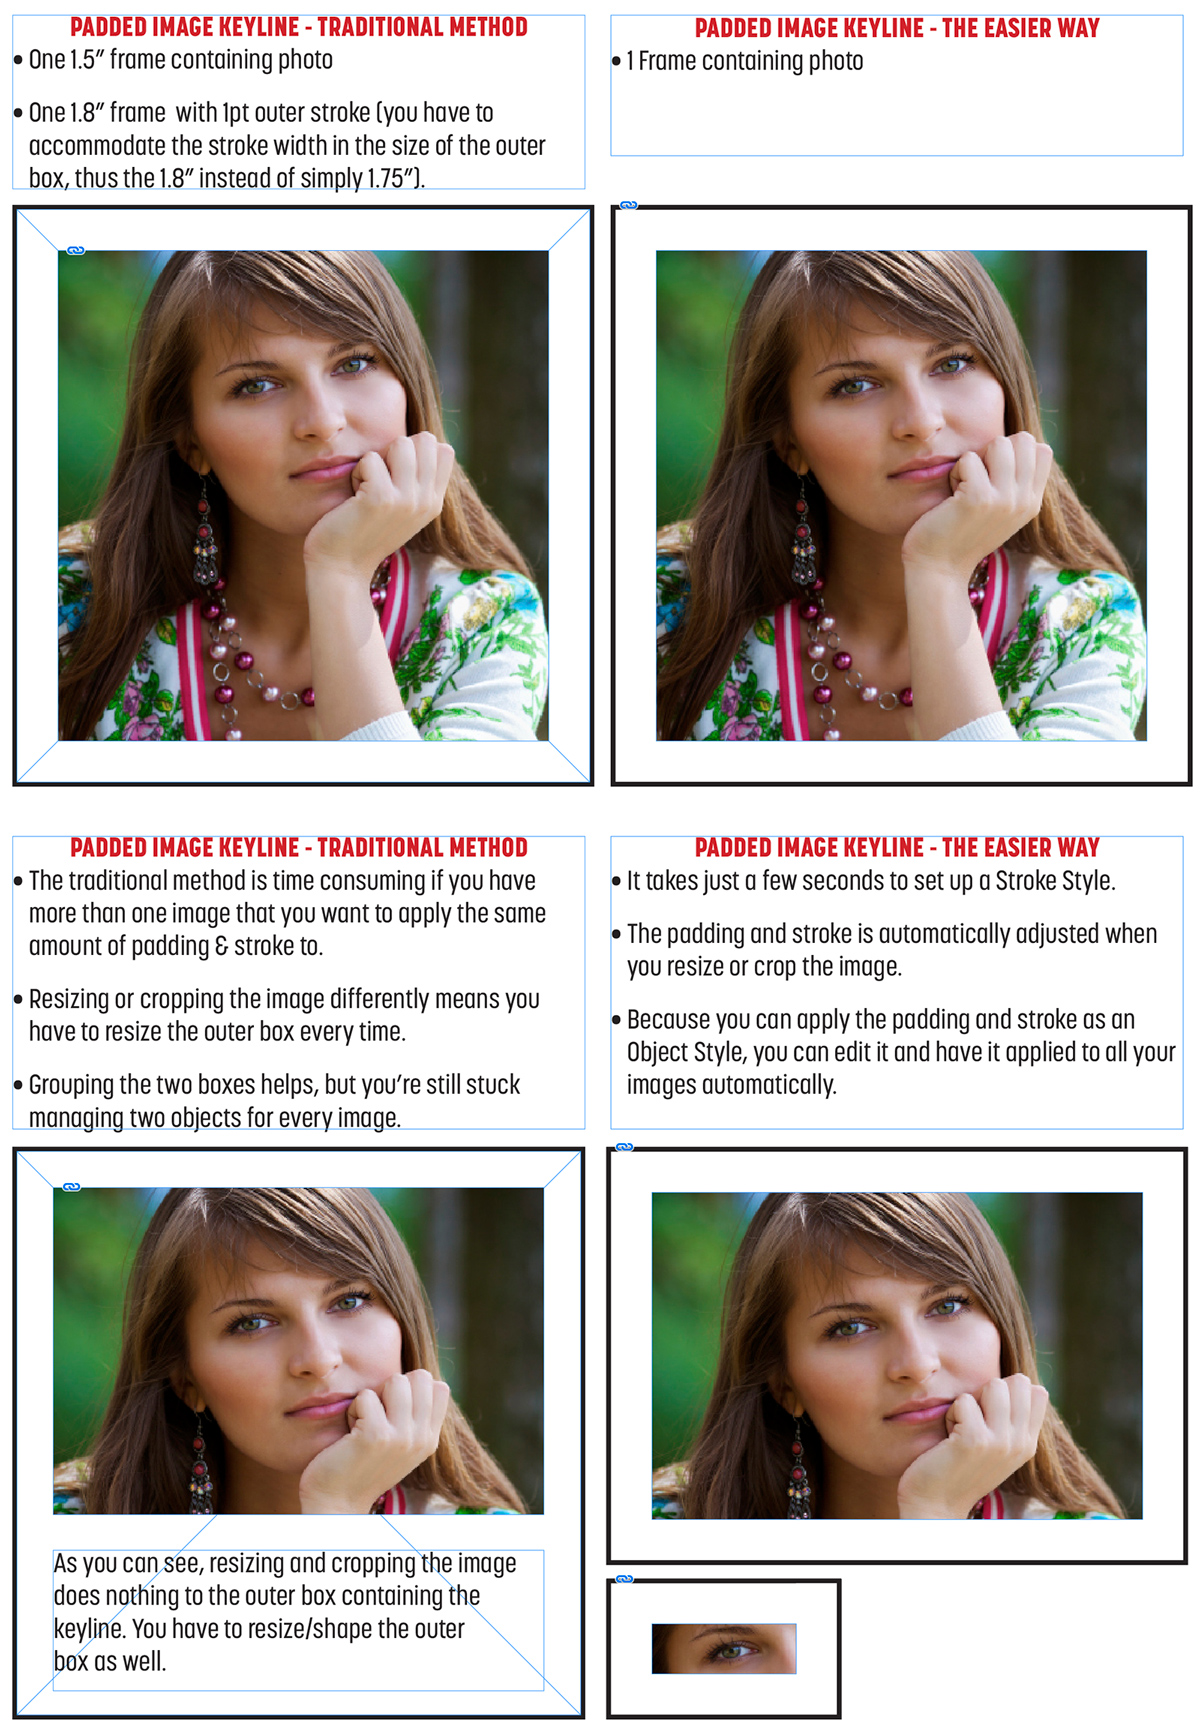


 You simply click the color palette on the page to select up to 10 colors at a time and the site displays a wall of image thumbnails which use a predominant amount of the color(s) you chose. While clicking a single color yields impressive results, clicking a few more colors displays a new set of thumbnails (extremely quickly) with remarkable results! I find this site to be incredibly useful, and worthy of bookmarking.